Knots Every Fly Angler Needs
Published How we research
Fly fishing rigging is a chain of connections: backing to reel, backing to fly line, fly line to leader, leader to tippet, tippet to fly. Each link needs a knot, and the good news is that five knots cover the entire chain. Learn them at home, on the couch, with thick practice cord before graduating to tippet, because the riverbank with cold fingers and rising fish is the worst classroom in the world.
Start at the reel with the arbor knot, which secures backing to the spool. It is nothing more than an overhand knot around the standing line, slid down snug to the arbor, with a second overhand in the tag end as a stopper. You will tie it once per spool and forget it, which is fine; its job is simply to keep everything attached in the rare event a fish takes you deep into backing. The backing-to-fly-line connection matters slightly more, and a double surgeon's loop in the backing mated to the welded loop on modern fly lines makes it a loop-to-loop connection you never have to think about again.
The nail knot is the traditional way to attach a leader butt to a fly line without a welded loop, and it is still worth knowing for older lines, cut-back tips, and emergency repairs. Wrap the leader butt six times around the fly line and a small tube, pass the tag back through the wraps, and draw it down smooth and tight before trimming close. A nail knot tool makes this nearly foolproof. If your line has a welded loop, skip the ceremony: tie a perfection loop in your leader butt and connect loop to loop, which lets you change leaders in seconds.
The perfection loop earns a permanent place in your hands. It forms a small, strong loop that stays perfectly in line with the standing leader, which matters for clean energy transfer in the cast. Form one loop behind the line, a second in front, pass the tag between them, then pull the front loop through the back one and seat it slowly. Practice until you can tie it in under thirty seconds, because pre-looped leaders and quick changes are one of the quiet efficiencies that put your fly on the water while others are still rigging.
The double surgeon's knot joins leader to tippet, and it may be the most-used knot in your day once you start changing flies. Lay the leader end and tippet section side by side overlapping several inches, tie an overhand knot with both strands together, pass the same doubled strands through a second time, moisten, and pull all four ends evenly. It is fast, forgiving, and strong even between lines of slightly different diameters. Keep sections within one or two X sizes of each other and trim the tags close. When you want an even slimmer connection for flat water, the blood knot is the refined alternative, but the surgeon's will carry you for years.
Finally, the improved clinch knot ties tippet to fly, and it will secure the vast majority of fish you ever hook. Thread the tippet through the eye, wrap the tag around the standing line five to seven times, pass it back through the small loop at the eye, then through the big loop you just made, moisten, and seat with a steady pull. Fewer wraps for thick tippet, more for fine. When you fish streamers and want the fly to swim freely, swap in a non-slip loop knot. Whatever you tie, follow the universal rules: wet every knot before seating, pull steadily rather than jerking, test with a firm tug, and retie your fly knot after every fish of size. Most break-offs are not bad luck; they are knots asked to do a job they were never properly given.
Products from this article
The highest-scoring picks from the buying guides mentioned above. Scores are our editorial assessment, not customer ratings.
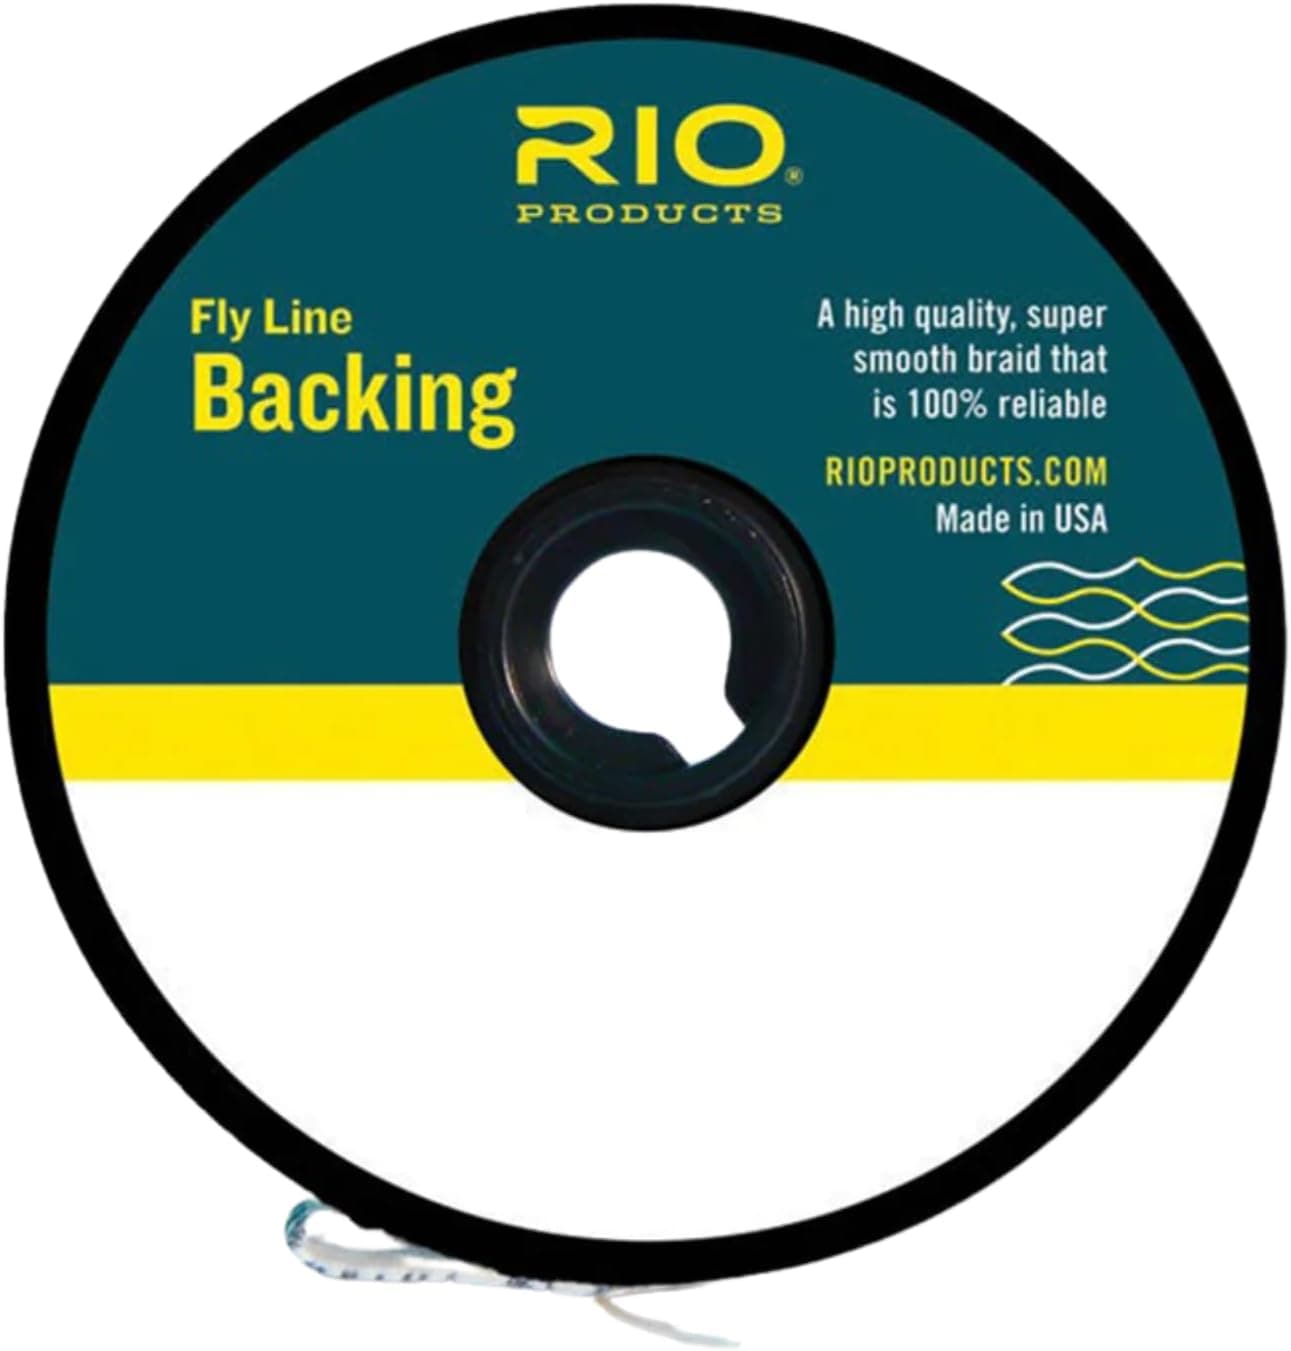
+ 20lb/30lb options cover trout reels through saltwater setups
From our guide: Best Fly Line Backing: The Insurance Under Your Fly Line
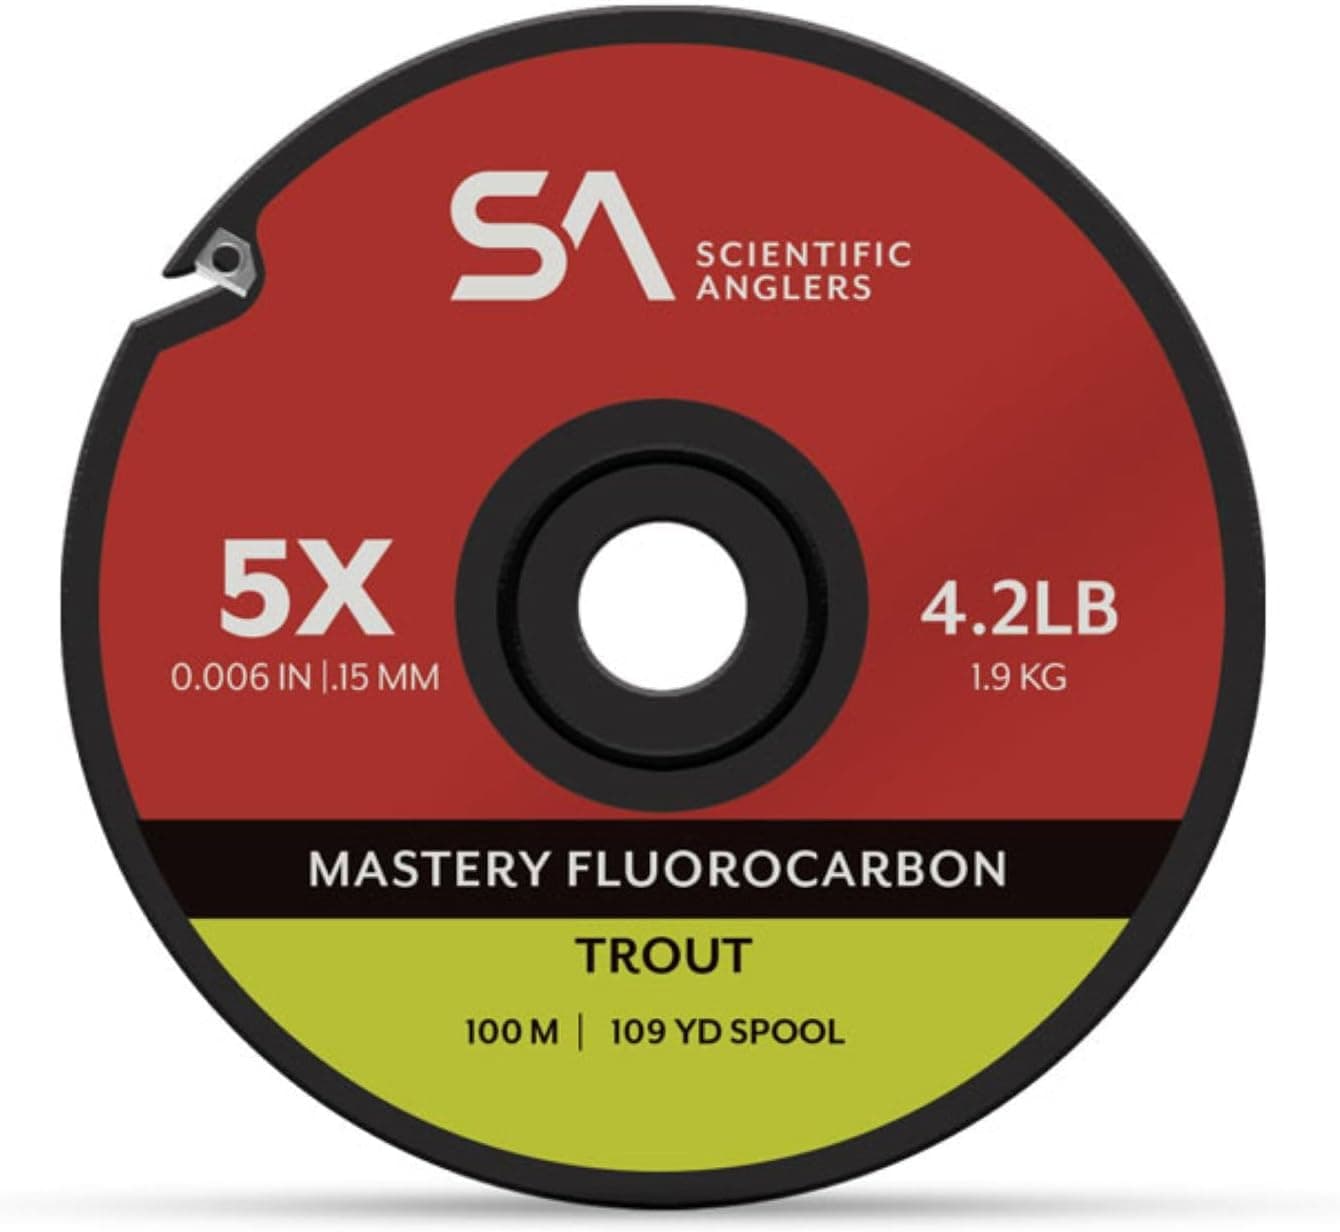
+ 100M guide spool lasts far longer than standard small tippet spools
From our guide: Best Tippet: Spools Worth Trusting Your Fish To
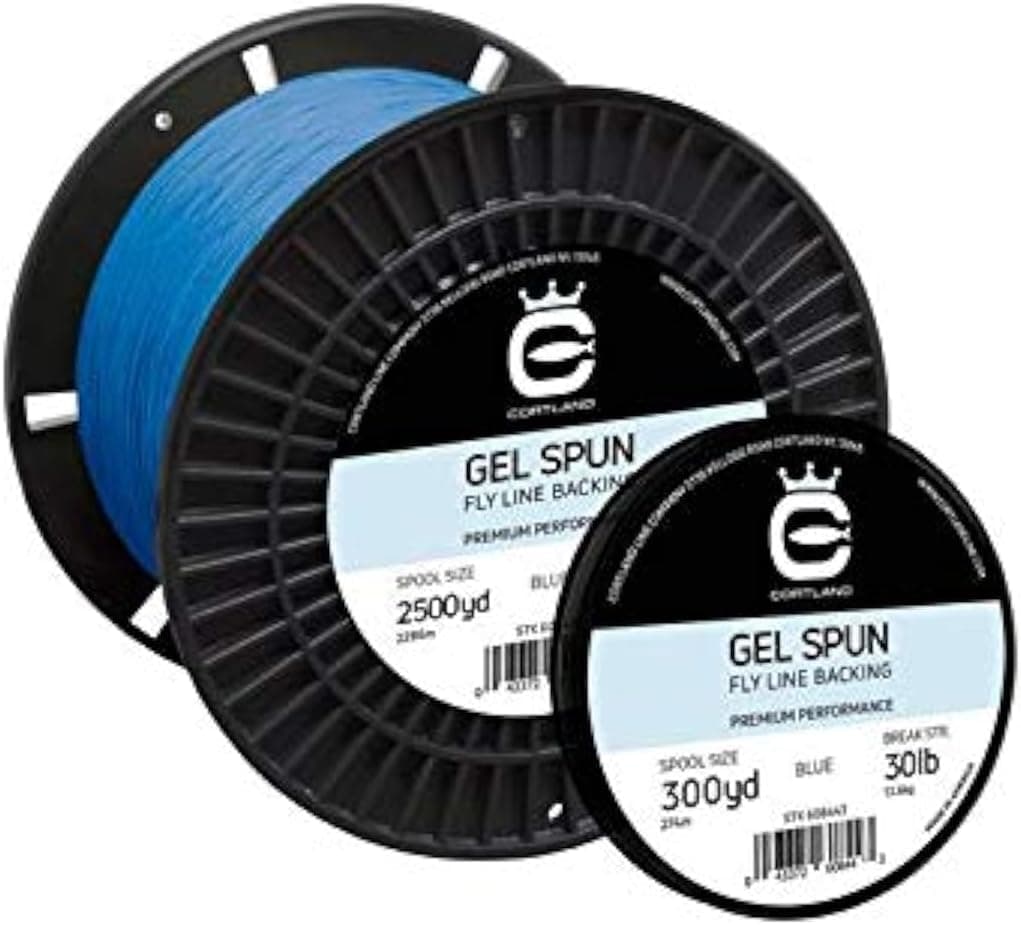
+ Gel spun has a thin diameter so more backing fits on the reel
From our guide: Best Fly Line Backing: The Insurance Under Your Fly Line
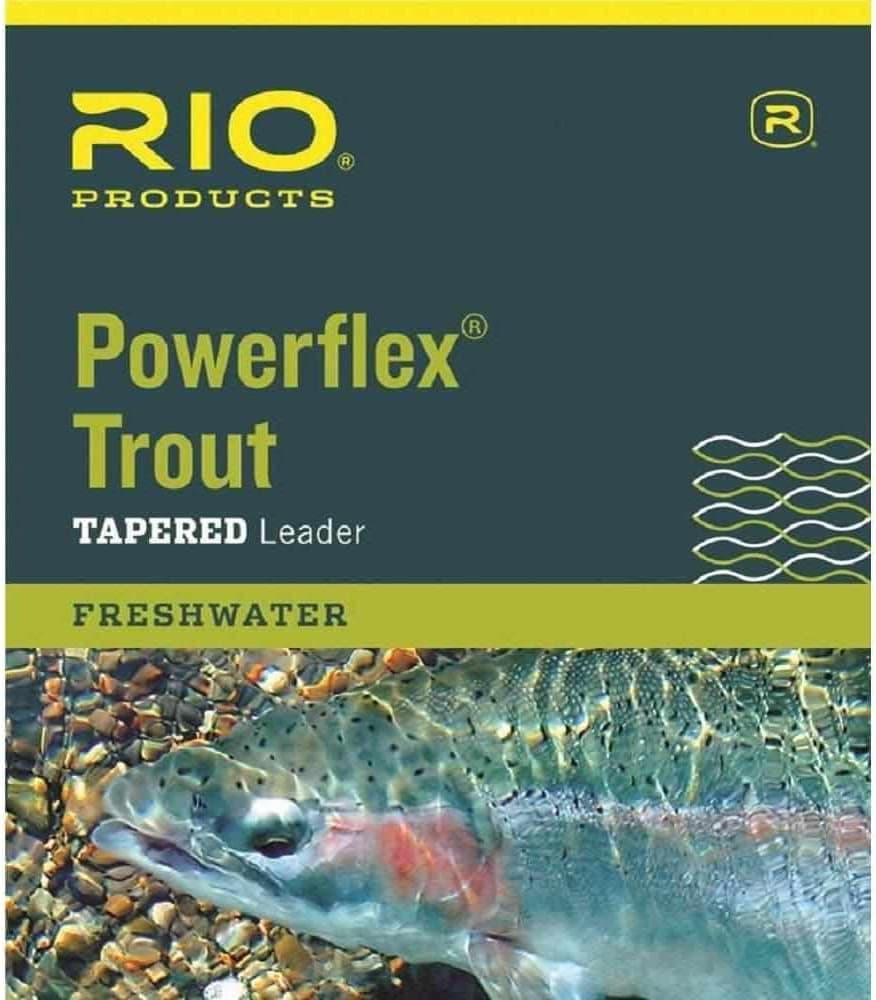
+ 9ft 5X spec is the go-to size for most trout situations
From our guide: Best Fly Fishing Gear for Beginners
Popular right now
- Dry Fly vs Nymph vs StreamerArticle
- The Best Waterproof Fly BoxesBuying guide
- The Best Chest Packs for Fly FishingBuying guide
- Best Wader Repair KitsBuying guide
- Fly Fishing Etiquette on Crowded WaterArticle
- Best Fly Rod Combos: Ready-to-Fish Setups That Actually BalanceBuying guide
Based on the last 28 days of search and visitor data.