How to Tie a Nail Knot: Joining Leader to Fly Line Step by Step
Published How we research
To tie a nail knot, lay a thin tube alongside the tip of your fly line, wrap the heavy end of your leader around both the line and the tube five or six times, pass the leader end back through the tube, then slide the tube out and pull the wraps tight. The result is a slim, smooth join that passes through rod guides without catching. It takes about two minutes once you have done it a few times, and a purpose-made nail knot tool makes the first attempts much easier.
Products from this article
The highest-scoring picks from the buying guides this article links to. Scores are our editorial assessment, not customer ratings.
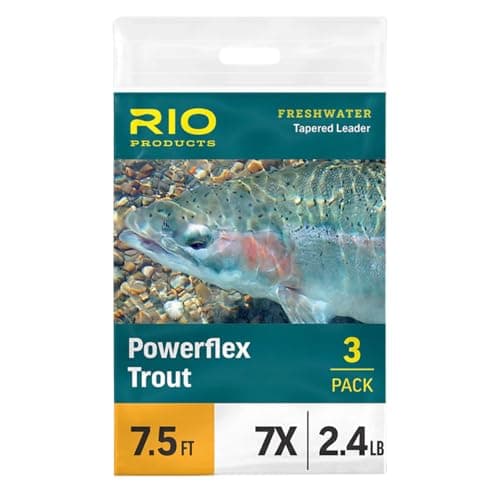
+ Copolymer construction balances strength, abrasion resistance and controlled stretch.
From our guide: Best Tapered Leaders: Smooth Turnover from Line to Fly
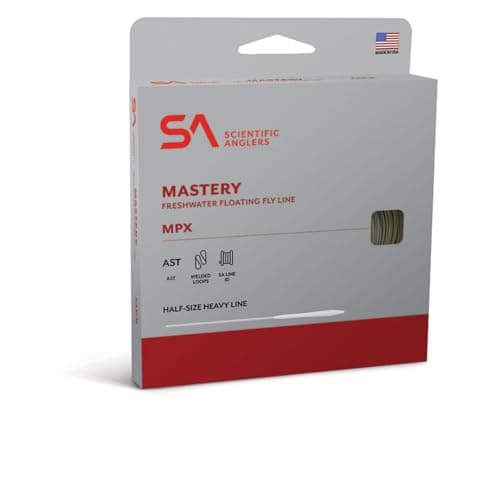
+ Front-weighted MPX taper loads rods quickly and turns over dries, nymphs and small streamers
From our guide: Best Floating Fly Lines: The Upgrade Most Rods Are Waiting For
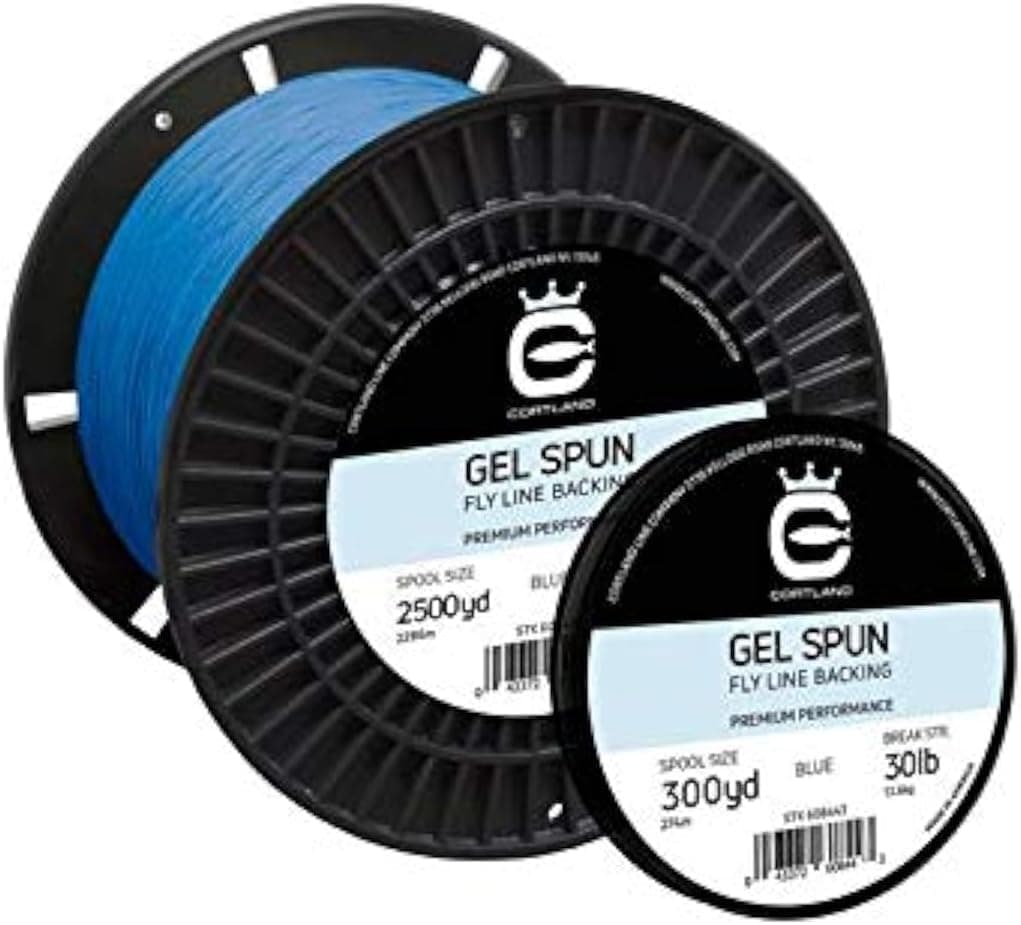
+ Gel spun has a thin diameter so more backing fits on the reel
From our guide: Best Fly Line Backing: The Insurance Under Your Fly Line
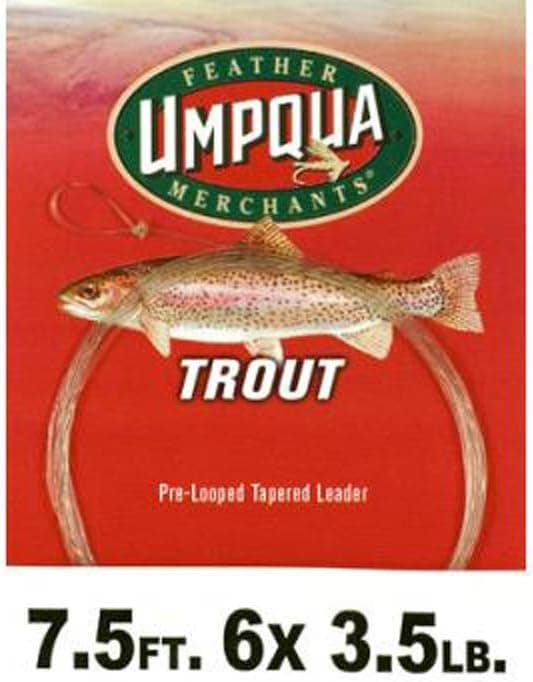
+ Pre-looped butt allows fast loop-to-loop connection to fly line
From our guide: Best Tapered Leaders: Smooth Turnover from Line to Fly
What a nail knot does and when you need it
The nail knot attaches the butt section of a leader directly to the end of a fly line. Many modern fly lines come with a welded loop at the tip, and for those a loop-to-loop connection is faster. The nail knot is still worth knowing because plenty of lines have no loop, because lines get cut back after the tip cracks or wears, and because it makes a permanent, low-profile join that does not hinge or catch weed the way a loop can.
It is also the standard way to attach a short butt section of heavier monofilament to a line that has no loop, so you can add loops, different leaders and tapered sections later with knots that are easier to tie. If you tie flies or build your own leaders, you will probably tie a few nail knots a season. If you buy pre-looped leaders and use loop-ended lines, you may go years without one, but the day you need it is usually a day when nothing else will do.
What you need
You need the fly line, a leader with a stiff butt section, scissors or nippers, and something to form the tube that the wraps go around. A purpose-made nail knot tool is the easiest choice: a short metal or plastic tool with a channel or tube that holds the line and leader and lets you pull it out when the wraps are done. A thin hollow tube works as well, such as a section of a coffee stirrer straw or a short piece of hollow tube from a hardware or craft shop. A heavy needle is the traditional stand-in, which is where the name comes from.
Choose a leader butt that suits the line. Heavy trout lines pair with a butt section of about 0.017 to 0.021 inch, a stiff monofilament that grips the line coating and keeps the knot from rolling. A butt that is far thinner than that will bite into the coating and may cut it. Finally, have a bit of flexible knot coating or UV-cure finish ready if you want to smooth the join, although it is optional.
Step by step
First, hold the tip of the fly line and the tube side by side, with the tube parallel to the line and the tip of the line sticking out a little past the end of the tube. Lay the leader butt along them, also parallel, leaving a tag end of about 6 inches that will make the wraps. You are now holding three things together: the line, the tube and the leader. Pinch them between thumb and forefinger so they stay still.
Second, take the long tag of the leader and wrap it around the line and the tube together. Make five or six tight, neat wraps, working along the line in one direction. Keep each turn lying next to the last rather than overlapping. Hold the wraps in place with your pinching fingers as you work. Wraps that cross over each other are the main cause of a weak, bulky knot.
Third, feed the end of the leader tag into the tube beside the last wrap, so that it runs under all of the coils and comes out the far end. If you use a nail knot tool, this is the step where the tool's channel does the work. Fourth, while still holding the wraps, pull the tube out of the knot, leaving the leader tag passing through the center of the coils. Wet the knot and pull on the tag and on the standing leader. The coils should gather into a neat barrel and bite into the line coating.
Finally, pull the line and the leader apart firmly to seat the knot, then trim the tag end flush with the knot. Trim the line tip, if it sticks out, to about one-eighth of an inch. Test it by pulling hard on the line and the leader. A properly seated nail knot will not slide. A drop of flexible knot coating over the wraps helps the knot slide through guides without catching, and it protects the coils from wear.
Doing it without a tool
If you have no tool, you can tie a nail knot using a thin tube or a needle. The steps are the same, but the tube is harder to hold steady while you wrap. Pinch the parts firmly, work in good light, and resist the urge to let go of the coils until the tag is through.
Another alternative is the tube-less version, often called the needle knot, which runs the leader inside the core of the line itself and gives an even slimmer join. It is more advanced, so master the standard nail knot first. For saltwater or heavy leaders, a loop-to-loop connection or a braided loop may be the better choice than any nail knot.
Why a nail knot slips or fails
A nail knot slips when the butt section is too thin, when there are too few wraps, or when the coils cross each other. If it keeps slipping, step up to a heavier butt, add a wrap, and tighten slowly with the knot wet. Another common issue is a fly line with a very slick coating, which is often the case with newer, low-friction lines. A drop of flexible knot coating over the finished coils can help.
If the knot cuts the line, the butt is too stiff or too thin, or you pulled it tight too fast. Seat it with steady pressure. A nail knot that bulges or looks rough should be cut off and retied; do not trust it with a fish. When the leader butt has been through many fish and is nicked, replace it, and check the line tip for cracks every few trips.
Frequently asked questions
How many wraps should a nail knot have? Five or six wraps are standard for most trout lines. Use more for heavy or slick lines, and fewer on very light lines, where bulk is a concern.
Can I tie a nail knot to a line with a welded loop? You can, but you would lose the convenience of changing leaders quickly. A loop-to-loop connection is the usual choice for lines with a loop.
What size butt section should I use? Roughly 0.017 to 0.021 inch for trout lines is a typical butt diameter, depending on the line weight. Choose the butt to match the line, with heavier lines taking a thicker butt.
Do I need glue? No. A properly seated nail knot holds on its own. A thin coat of flexible knot coating is optional and mostly makes the join smoother and more durable.
Popular right now
- Dry Fly vs Nymph vs StreamerArticle
- Best Kids Fly Rods: Short, Tough Setups That Keep It FunBuying guide
- The Best Waterproof Fly BoxesBuying guide
- Best Beginner Fly Rods: Forgiving Rods That Teach a Clean CastBuying guide
- Best Euro Nymph Lines: Thin Lines for Tight-Line ControlBuying guide
- Best Wader Repair KitsBuying guide
Based on the last 28 days of search and visitor data.