Getting Started With Fly Tying
Published How we research
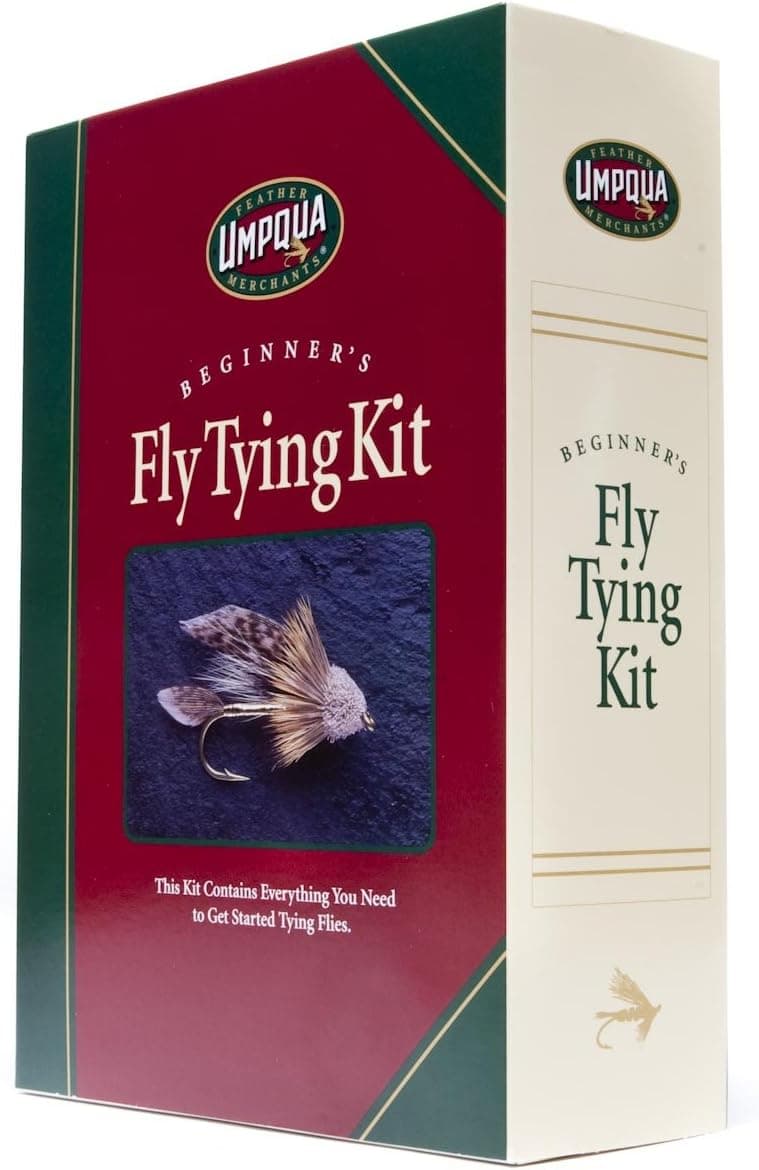
Fly tying is often sold as a way to save money, which is the one thing it reliably fails to do. What it does deliver is control. You can adjust a pattern to the bugs on your home river, tie a size the shop never stocks, and replace the fly that worked yesterday with an exact copy tonight. It also changes how you look at insects and at the flies you buy, which quietly improves your fishing whether or not you ever tie enough to fill a box.
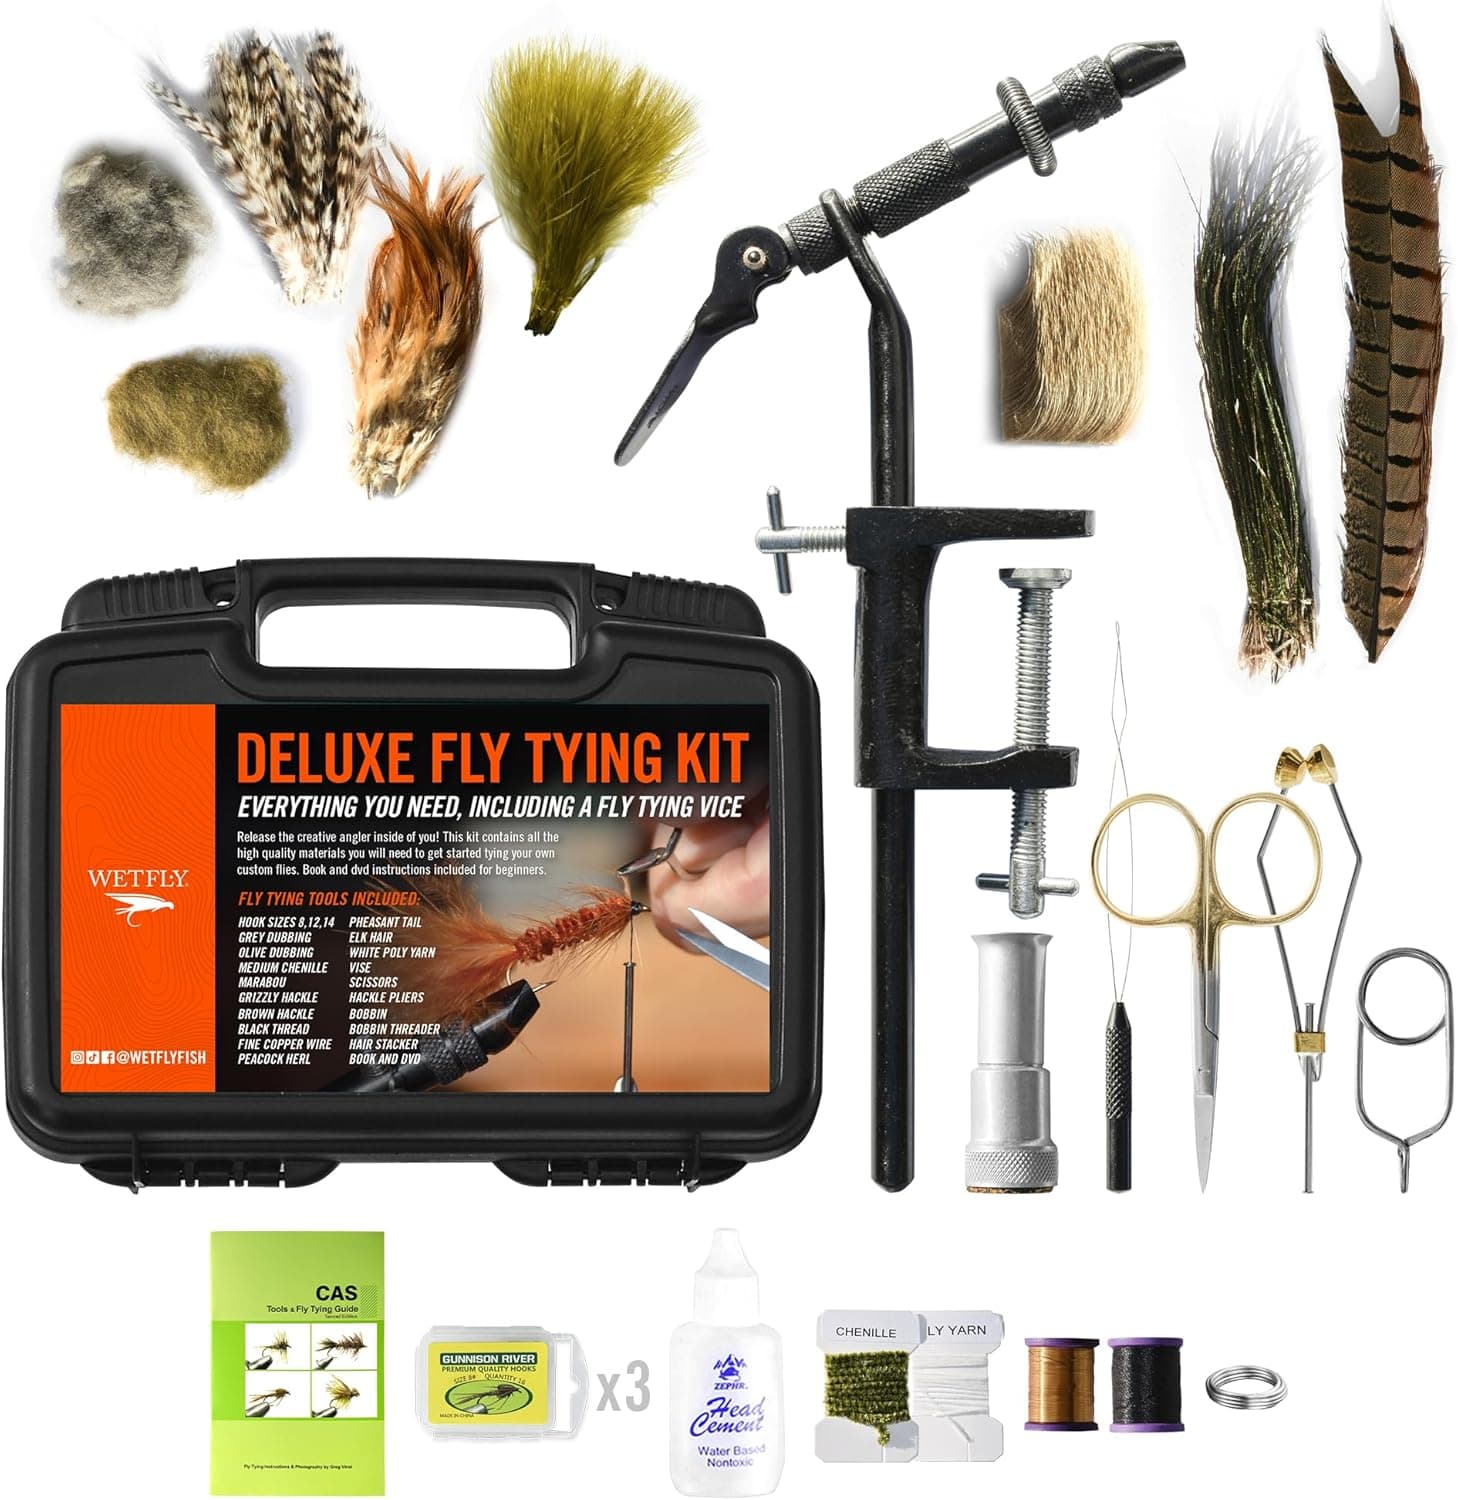
The tool list is shorter than most starter kits suggest. A vise that holds a hook without slipping is the one place to spend real money, and a decent rotary or basic pedestal vise will last decades. Add a bobbin holder, sharp scissors with fine points, a bodkin, a whip finisher or the ability to whip finish by hand, and a hackle plier. That is enough to tie a very large share of trout patterns. A head cement, a hair stacker, and a dubbing needle can wait until a pattern demands them. Good light matters more than any accessory, so put a bright lamp over the vise before you buy another gadget.
Materials are where beginners overspend. Rather than buying a broad assortment, pick three or four patterns you actually fish and buy only what those require. A pheasant tail, a few packs of beads, some copper wire, black and olive thread, hare's ear dubbing, a grizzly and a brown hackle cape, elk hair, and a spool of lead-free wire will get you through a surprising number of nymphs and dries. Buy hooks in the two or three sizes you fish most instead of a full range. As you tie, the gaps in your materials drawer become obvious, and you fill them deliberately.
Learn the underlying techniques rather than memorizing recipes. Starting the thread, laying a smooth base, and controlling thread tension solve half the problems beginners have. After that, dubbing a tight noodle, wrapping wire ribbing evenly, tying in and wrapping a hackle, and finishing a neat head cover almost everything else. If a fly looks lumpy or the head is bulky, the cause is nearly always too much material and too many thread wraps rather than a lack of talent. Use half the material you think you need and the flies improve immediately.
Give yourself a first-month plan instead of tying one of everything. A useful sequence is to tie a dozen of the same simple pattern, such as a beadhead pheasant tail, in one sitting. The first three will be rough, the middle six will get consistent, and the last three will look like flies. Then move to a second pattern that adds one new skill, such as an elk hair caddis for stacking and hackling, and repeat the dozen. Proportion is what separates a fly that fishes well from one that does not, so keep a bought fly on the desk as a reference for tail length, body taper, and hackle size.
Set up a permanent space if you can, even a small one. A tying station you have to assemble and pack away every time gets used far less than a corner of a desk with the vise clamped in place. Keep materials in labeled containers, put waste in a bag clipped to the vise, and clean up hackle stems before they migrate through the house. Tie a few flies on winter evenings rather than in marathon sessions, and by spring you will have boxes filled with patterns you understand, in the sizes your water calls for, tied by someone who now knows exactly why each one is built the way it is.
Products from this article
The highest-scoring picks from the buying guides mentioned above. Scores are our editorial assessment, not customer ratings.
+ Includes vise, bobbin and rotary tool for a full tying setup
From our guide: Best Fly Tying Kits
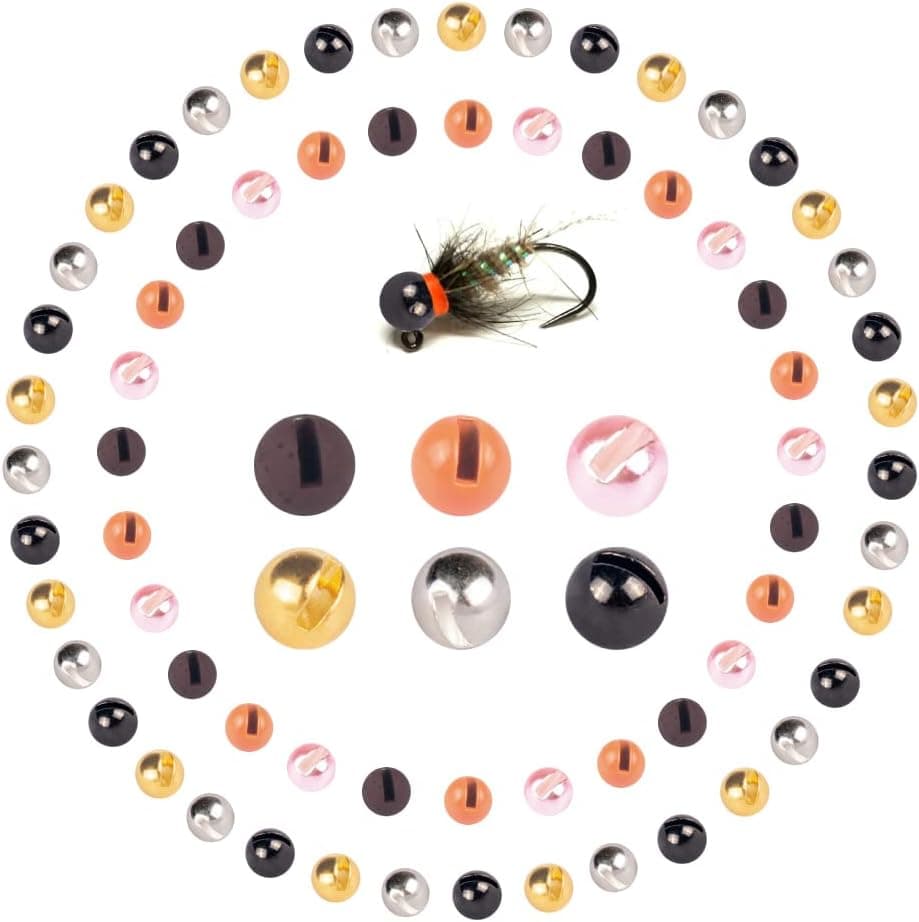
+ 300Pcs bulk pack keeps you stocked for many tying sessions
From our guide: Best Fly Tying Materials
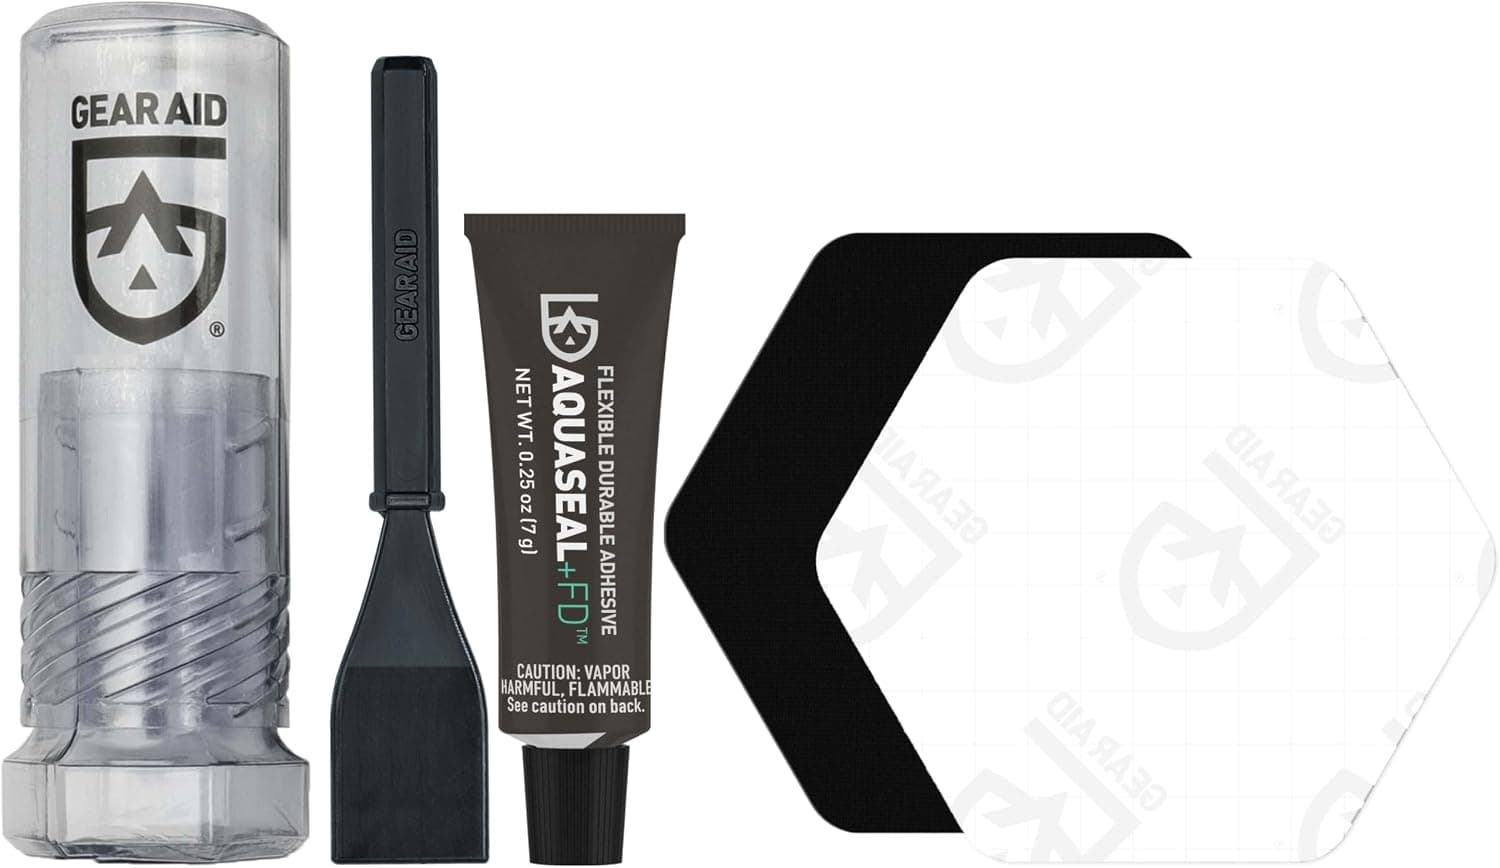
+ Aquaseal FD is a flexible, durable adhesive for seams and pinholes
From our guide: Best Wader Repair Kits
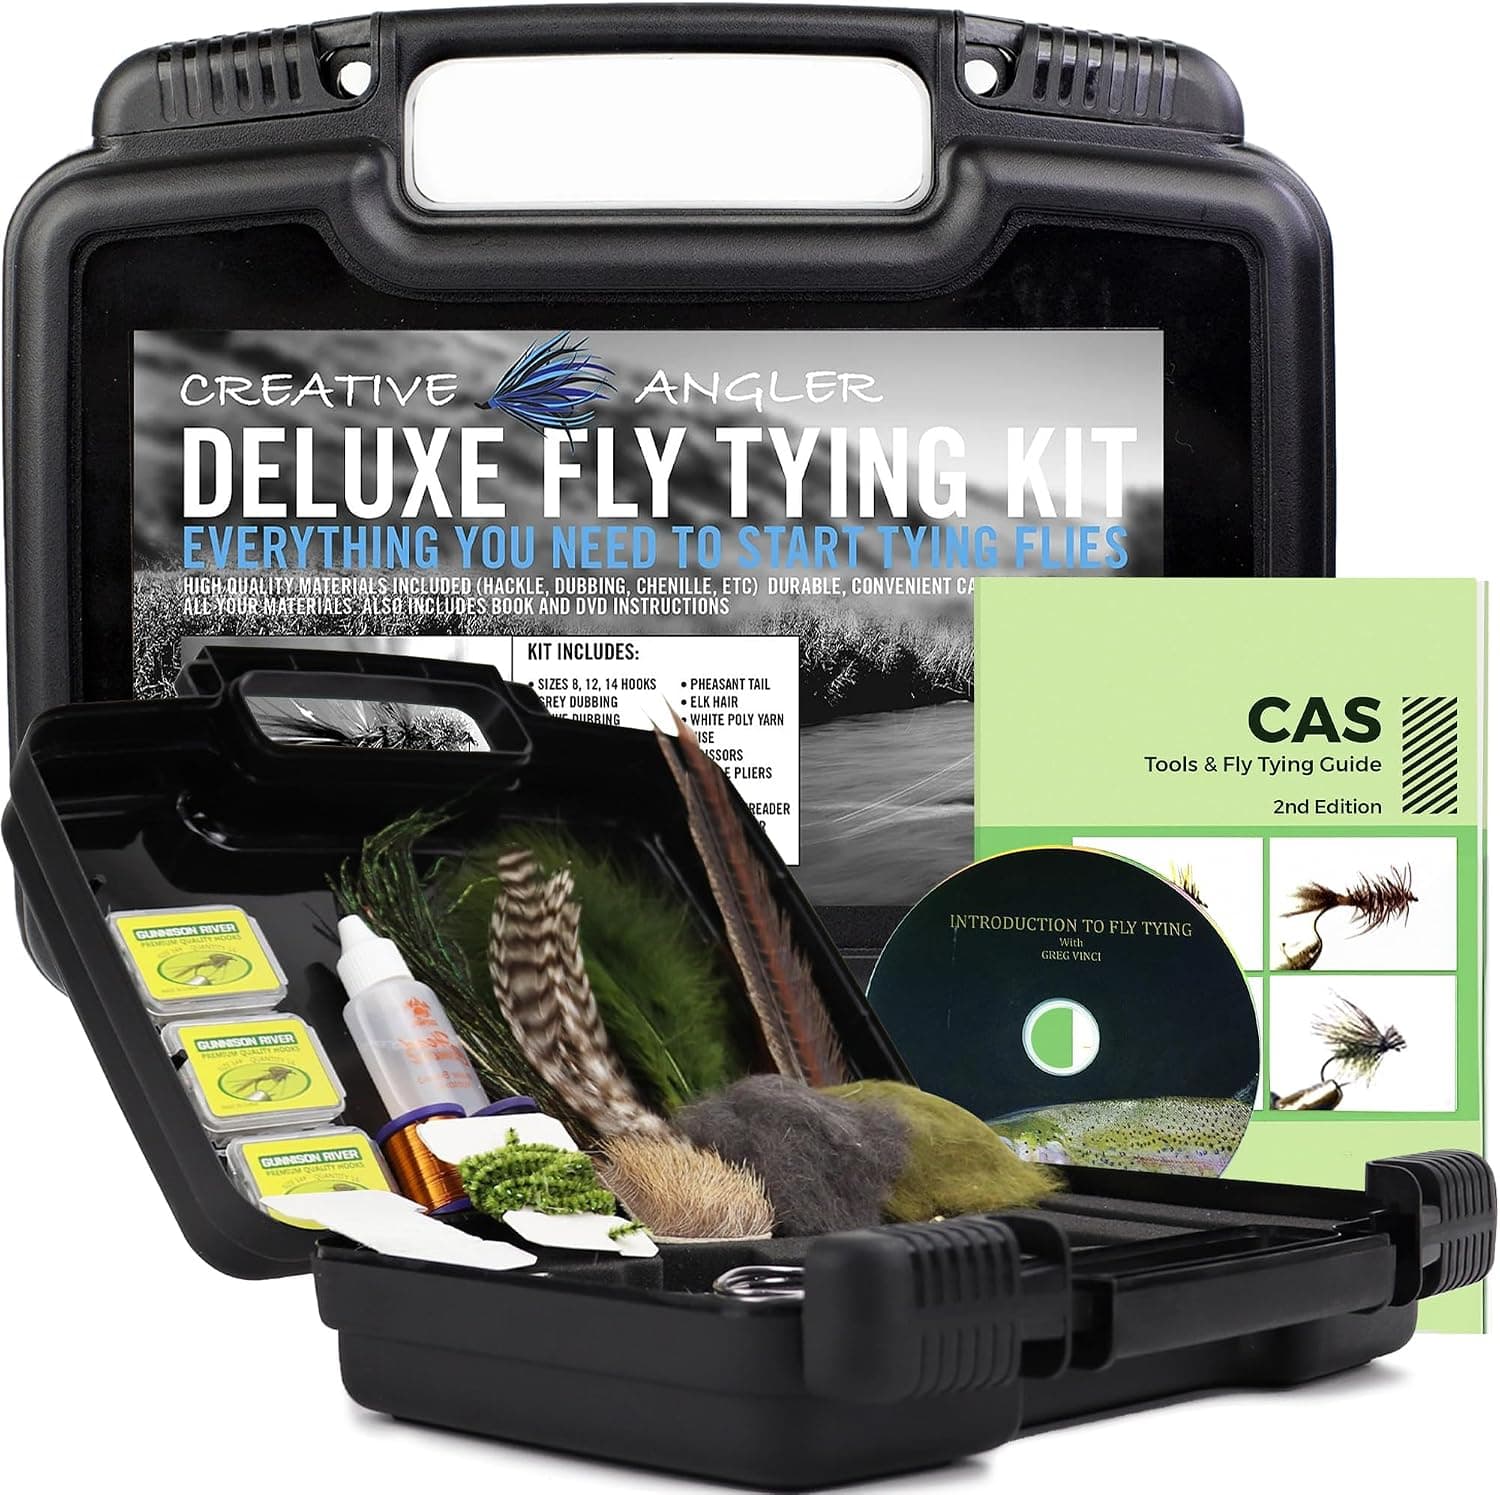
+ Vise, tools, materials, book and DVD make a true all-in-one kit
From our guide: Best Fly Tying Kits
Popular right now
- Dry Fly vs Nymph vs StreamerArticle
- The Best Waterproof Fly BoxesBuying guide
- The Best Chest Packs for Fly FishingBuying guide
- Best Wader Repair KitsBuying guide
- Fly Fishing Etiquette on Crowded WaterArticle
- Best Fly Rod Combos: Ready-to-Fish Setups That Actually BalanceBuying guide
Based on the last 28 days of search and visitor data.